Design Procedures for a Building Foundation (Step by Step) Good design must not only be safe but must aim to save construction costs, time and materials. The following procedures should help to achieve this and an ‘educated’ client will recognize the importance of funding this work with a realistic fee. 1. Type of Load On […]
In this post of the Structural Precast series I would like to touch upon the topic of segmentation of precast walls.
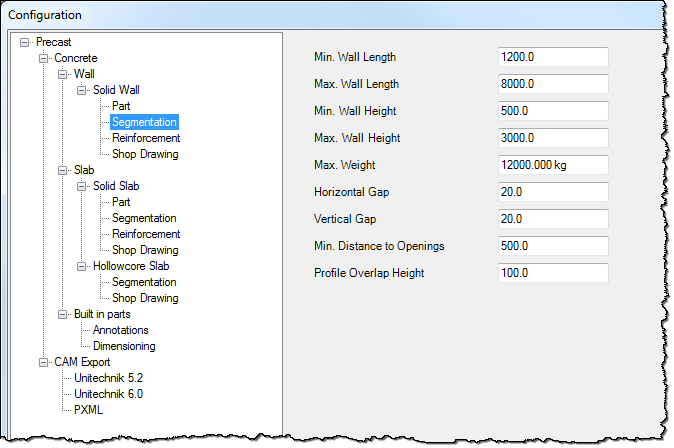
Segmentation of precast walls can be done automatically or manually. Before we run the automatic segmentation we should check and adjust the Configuration Settings.
The Configuration settings can be imported or exported via XML files to easily share the rules across several users, working on the same or different projects.
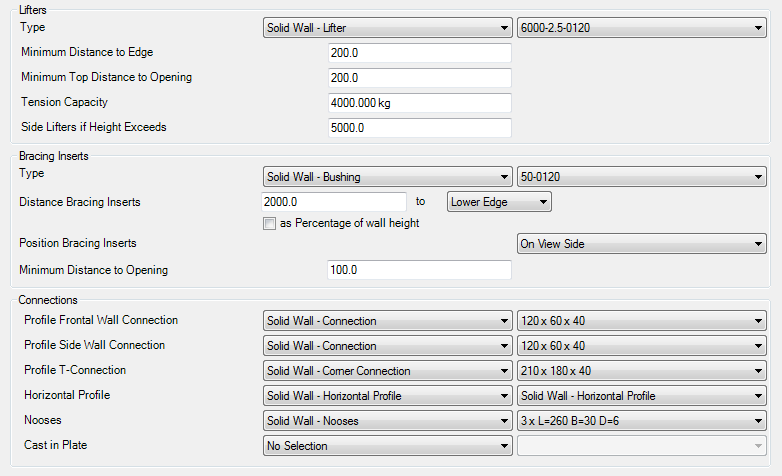
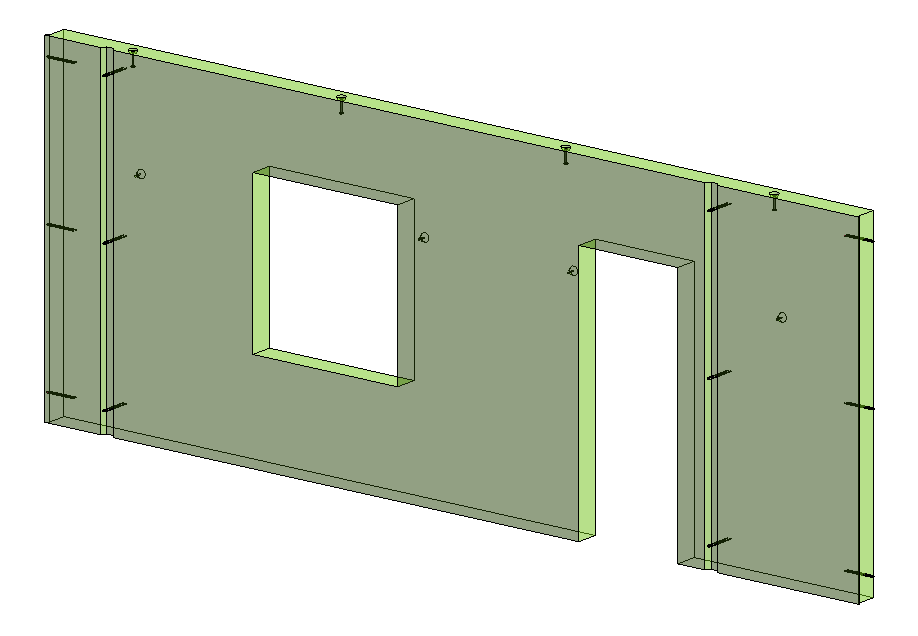
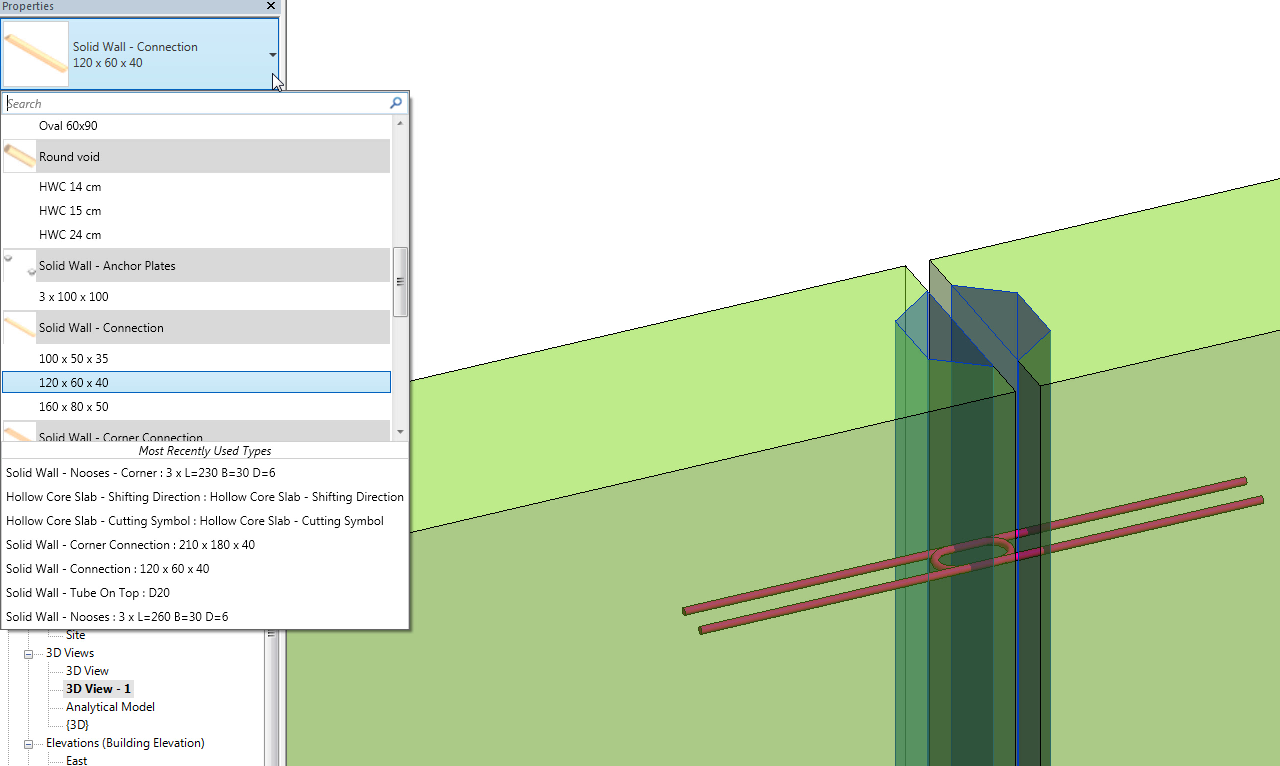
On the Part Tab we set up Lifters, Bracing Inserts and Connections. Here we decide what types of elements will be used and their positions within precast assemblies.
All the connections and built-in parts are Revit families and can be customized according to the project’s requirements.
On the Segmentation Tab we define rules for splitting based on fabrication, transportation or other functional requirements.
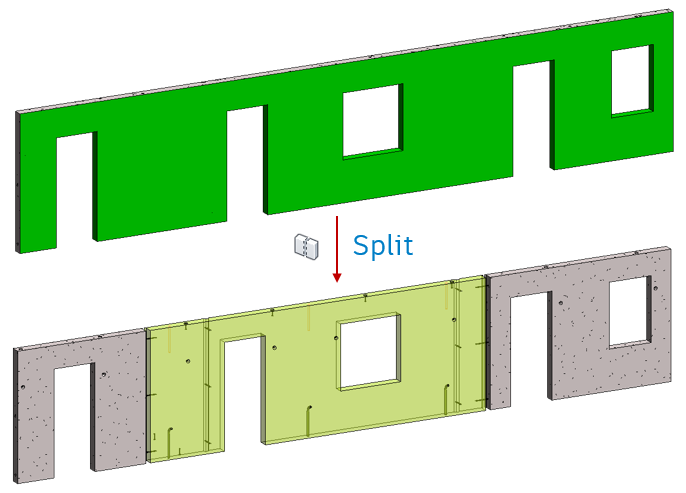
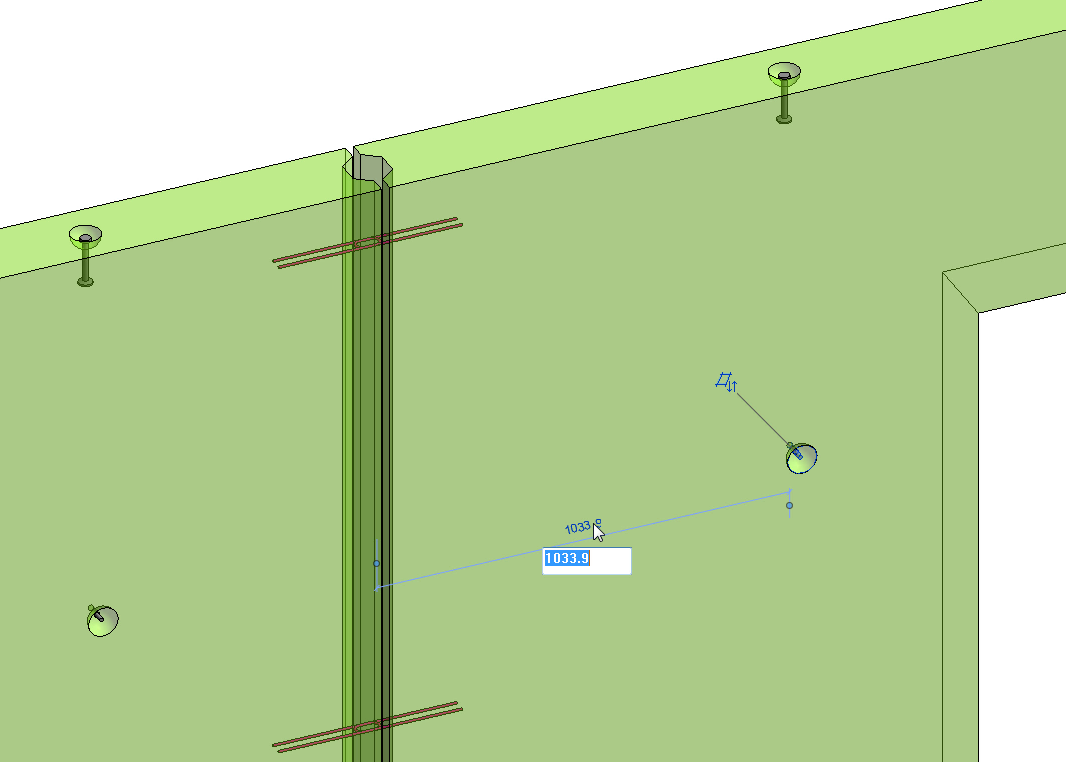
To execute a segmentation of walls we need to select all the walls and press the Split command. During this command, the precast wall assemblies are created. Lifters, bushings and connection are created according to the rules from the Configuration settings.
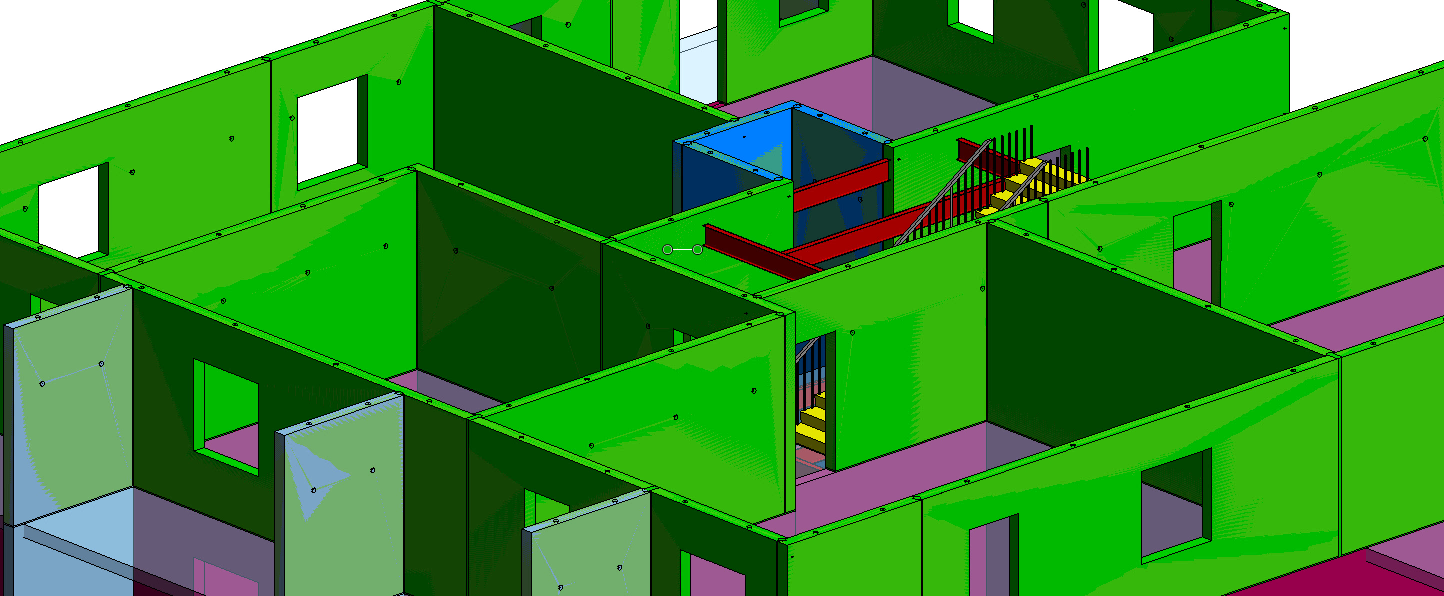
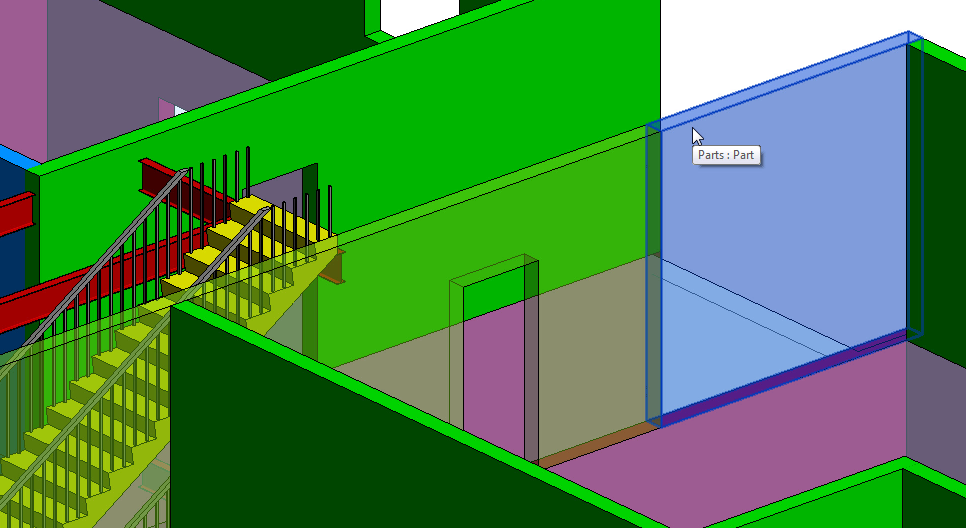
Just after the wall segmentation we can see both the original elements and parts that have just been created.
We can display parts only to better review the outcome of the Split.
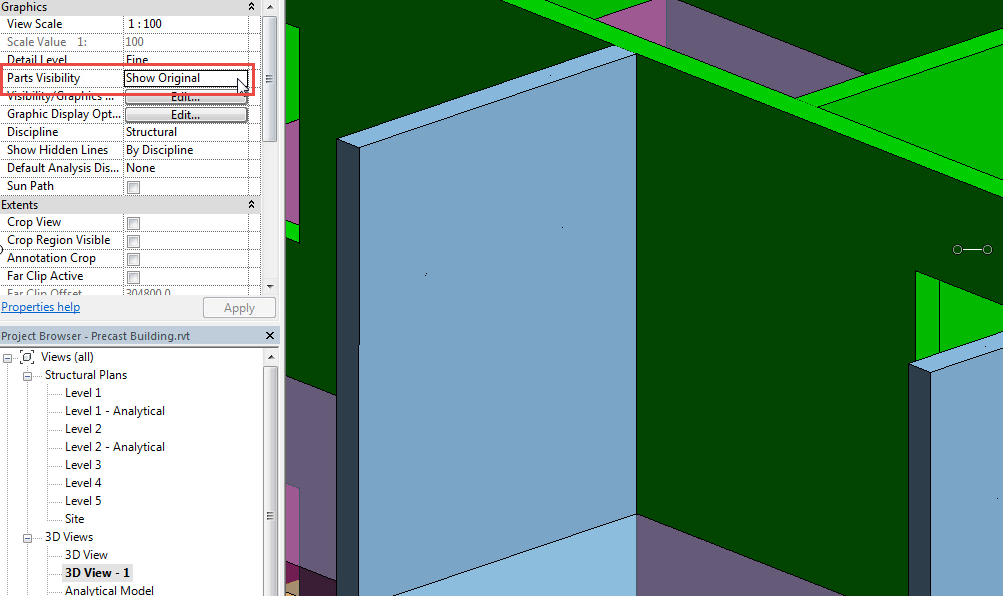
Switching between different LODs (Level of Development) is pretty easy and fast so we can review the original elements at any time.
As an outcome of the Split command we get wall parts, lifters, bushings and connections grouped automatically into a precast assembly.
Watch video:
When a custom segmentation is performed, it often does not allow for clear mathematical rules and we cannot apply rules specified in the Configuration. At this point we need to perform the manual segmentation of the original walls.
The manual segmentation is performed starting directly from the original, unsegmented element.
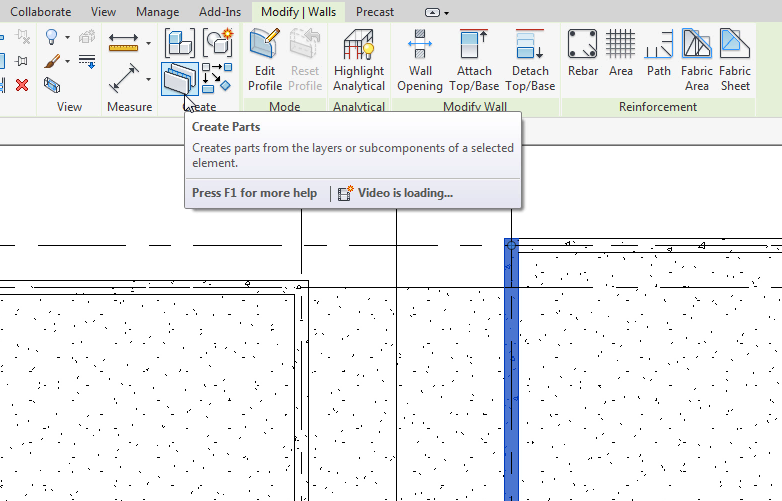
First, we need to convert a wall into Revit Parts.
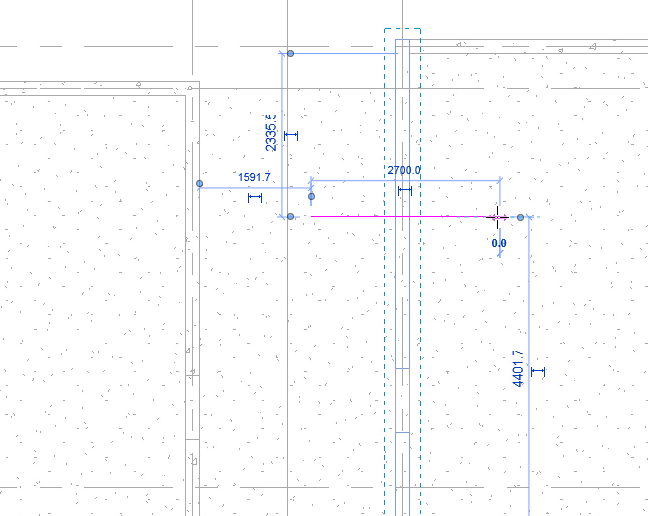
Next, we define a division line or lines. Drawing such division line(s) we can very precisely determine where a segmentation should occur.
Once manual segmentation is complete, the “Split” command can be used to convert the parts into precast assemblies.
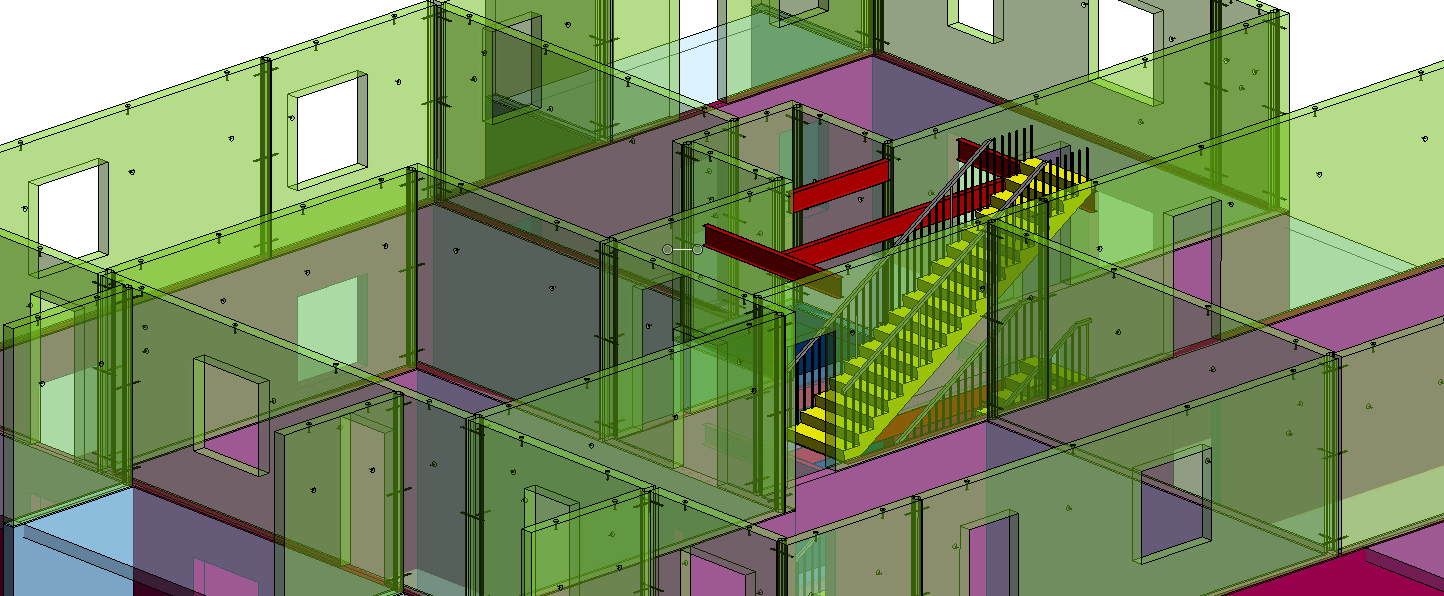
Now on this floor we have a mixture of original walls and parts we just created manually.
IMPORTANT TO NOTE: If the original wall is selected, instead of the manually created parts, the manual segmentation is overridden and the wall is segmented according to the Configuration settings. That’s why it’s important to make sure the original element is not selected but only parts.
If one part is still larger/heavier/etc. than the specifications indicated in Configuration Settings, it will be further divided, respecting those rules.
Let’s see the outcome of the segmentation in this case.
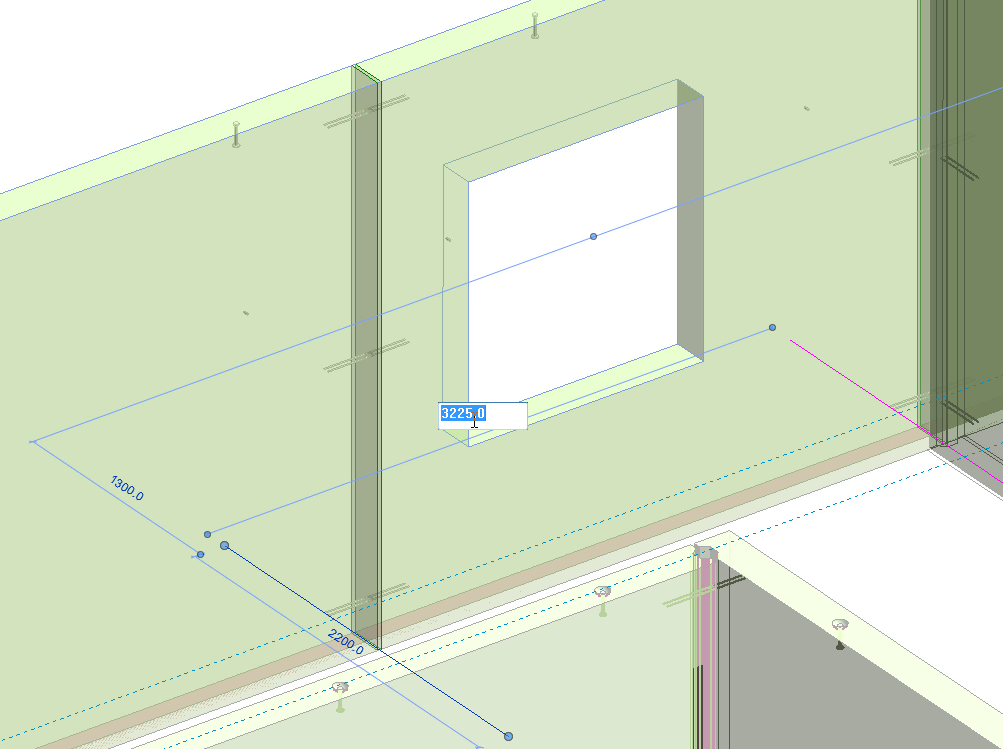
Another way we can control the segmentation of elements is by a manual adjustment of parts after the segmentation.
In this case we select a part and edit a position of a division line – this can be done very precisely too. Once the part is updated, the entire assembly and connections, lifters, and bushings are updated as well.
We can also manually adjust a position or a type of individual elements within an assembly. In this case I am changing a position of one of the bushings.
In the similar way, we can update lifters and connections within a precast assembly.
Watch video:
For more posts on structural precast in Revit, check out these past articles on BIM and Beam:
from my Autodesk source Bim & Beam: BIM and Beam at http://blogs.autodesk.com/bim-and-beam/2017/12/04/segmentation-of-precast-walls-in-revit/
via IFTTT