Tuesday 8 November 2016

What not to miss at next week’s Fabricators Forum

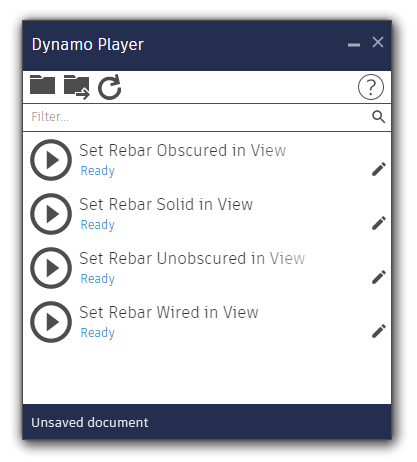
The Fab Forum is next week? The Fab Forum is next week! We’ve got a great line up of classes at next week’s MEP and Structural Fabricators Forum at Autodesk University in Las Vegas. Here’s a sneak peek at what you can expect at this year’s forum:

If you’re attending the conference next week you won’t want to miss these great classes:

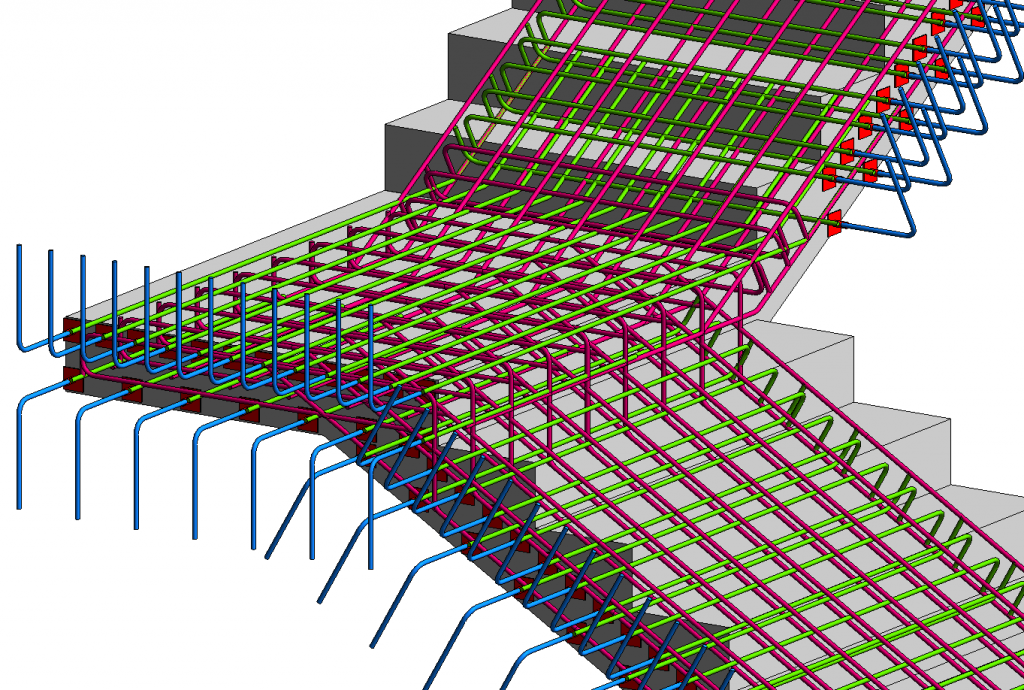
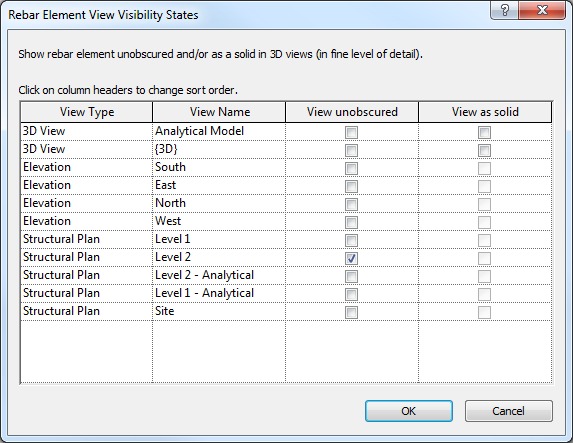
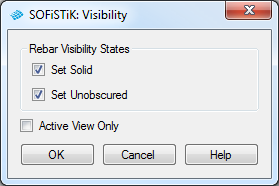
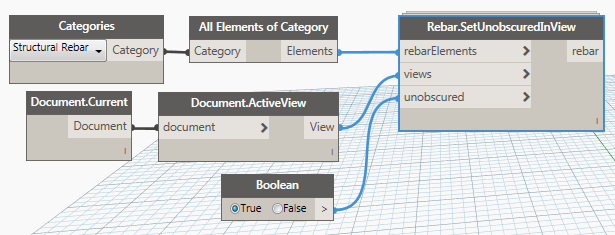
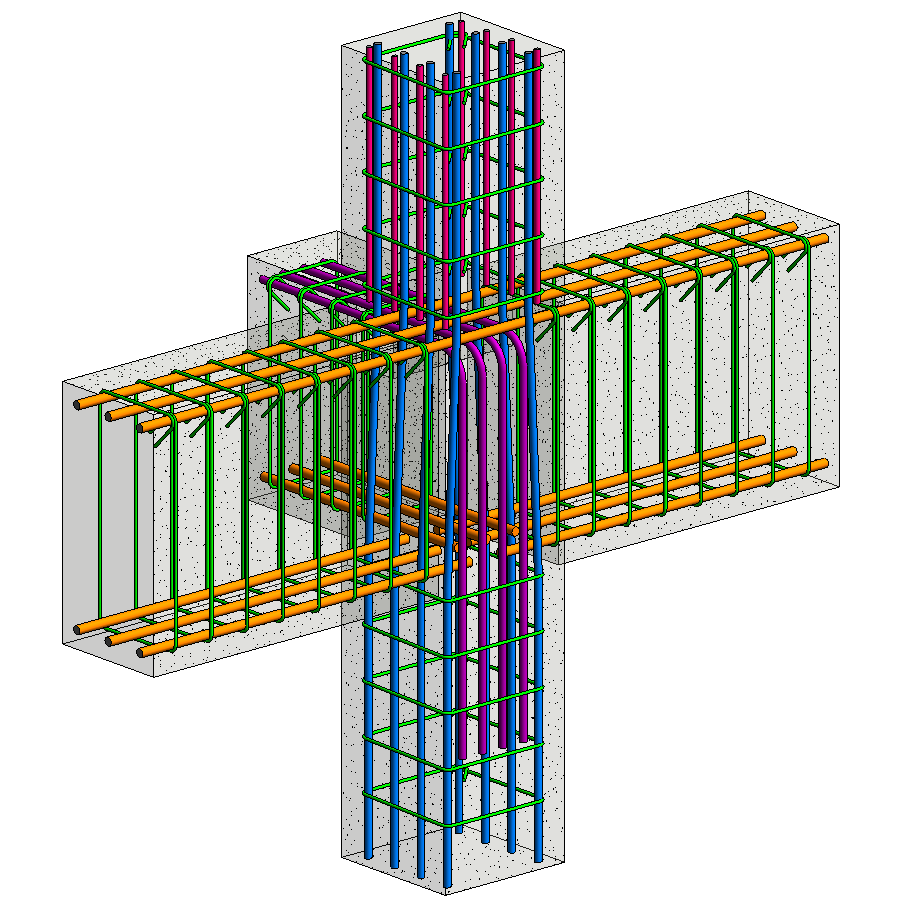
MSF22937           Create Structural Shop Drawings for Concrete, Precast, and Steel Structures in Revit

With the new tools added to Revit in the last few years, it has become easier for structural engineers and detailers to create shop drawings and fabrication models for structural components. This class will demonstrate BIM workflows to take a structural design team model into fabrication modeling and shop drawings production for rebar, precast concrete, structural steel, and concrete lift drawings. Attendees will learn new rebar modeling and annotation features for rebar shop drawing creation, how the new steel connections tool works in Revit 2017 and links with Advance Steel, how to create precast concrete erection (shop) and piece drawings in Revit, and also how to create detailed concrete lift drawings in Revit. We will also demonstrate add-ons that make shop drawing production more efficient for each structural component type, and discuss workflows and best practices. Speakers: Daniel Mccloskey, Principal with MB BIM Solutions and Erich Bretz, Structural Engineer/Technician, MB BIM Solutions

MSF20578-L       Customizing and Creating Your Own User Section in Advance Steel

In this class, you will learn how User Sections are created and customized to suit your company specific standards and how to use these User Sections in Macros for Stairs, Railings and Cladding. Furthermore you will get an introduction to the relevant databases and tables and understand what is necessary to keep your profiles when upgrading to the next Advance Steel version. Speaker: Stephanie Hoerndler, Solutions Engineer, Autodesk

MSF22025           Connected Insight with Advance Steel

Advance Steel is a powerful detailing and fabrication tool that has helped Steelway move to the ‘next level’ in terms of the complexity and scale of our projects. Beyond the basic functionality of the program, Steelway has also leveraged the technology as a tool for collaboration and communication. Discover how our workflows involve interoperability with design software for rapid concept generation in the BIM environment. This allows collaboration between engineers, detailers, fabricators, and erectors. Better modelling at the early stages of the project increases quality and prevents the need for costly rework during detailing, manufacturing, and construction. We will illustrate the key role of Advance Steel in several large-scale successful projects. Speaker: Mike Vance, Design Engineer, Steelway Building Systems

MSF21583           Design-to-Fabrication Structural BIM Workflows for Mixed Concrete and Steel Projects

In this class we will create a mixed material structure in Revit and explore a workflow that optimizes the collaboration between disciplines, and shares the project intelligently with engineers, designers, technical detailers and fabricators. Using connected, or Revit-specific applications we will round-trip the project to/from all disciplines and, using multiple software applications and Revit as the hub for the central BIM model, we will develop the detail at each stage adding reinforcement to structural elements – adapting to requirements for openings for MEP services proposed late in the stage, and applying and checking steel connections prior to sending the model to Advance Steel for detailing and then Advance Workshop for production. We will also look at how you to keep track production status as you link this data back into Advance Steel, and we’ll explore various Autodesk Cloud services for project visibility and collaboration. Speakers: Carl Spalding, Group Product Strategy Director, Graitec and Joseph PAIS, Design Product Line Manager, GRAITEC INNOVATION

MSF21122           Model-Based Steel Fabrication: Connecting the Model to Fabrication (and Back)

When 3D modeling replaced 2D CAD, only the detailing method changed; not the way data gets transferred to steel fabricators: Much of the knowledge in the model is lost. So while detailers benefited, steel fabricators are still getting the same information in the same format. But now it’s possible for fabricators to extract better information from the Advance Steel model. AISC’s IFC for Steel Fabrication Specification is available directly from Advance Steel to feed fabricators’ production management systems and workstations. The new workflow involves sending a single file that a fabricator can use to extract all the information needed for fabrication, including 2D and 3D views, connections and material information. From there, its possible to manage and organize the project ready for fabrication, optimize material and create the data required to drive and track CNC or manual workstations. This class will work through the process and review the benefits of model based fabrication. Speaker: Chris Moor, VP North America, Steel Projects Corp: A FICEP Group Company

In addition to over 40 great classes like the ones above, here’s what else you can expect at next week’s Fab Forum:

  • Exchange ideas and strategies during the day with 400+ designers and fabricators
  • Learn best practices from industry leaders from Mold-Tek Technologies, Norconsult, Southland Industries, BAM Construction, IKERD Consulting, and more
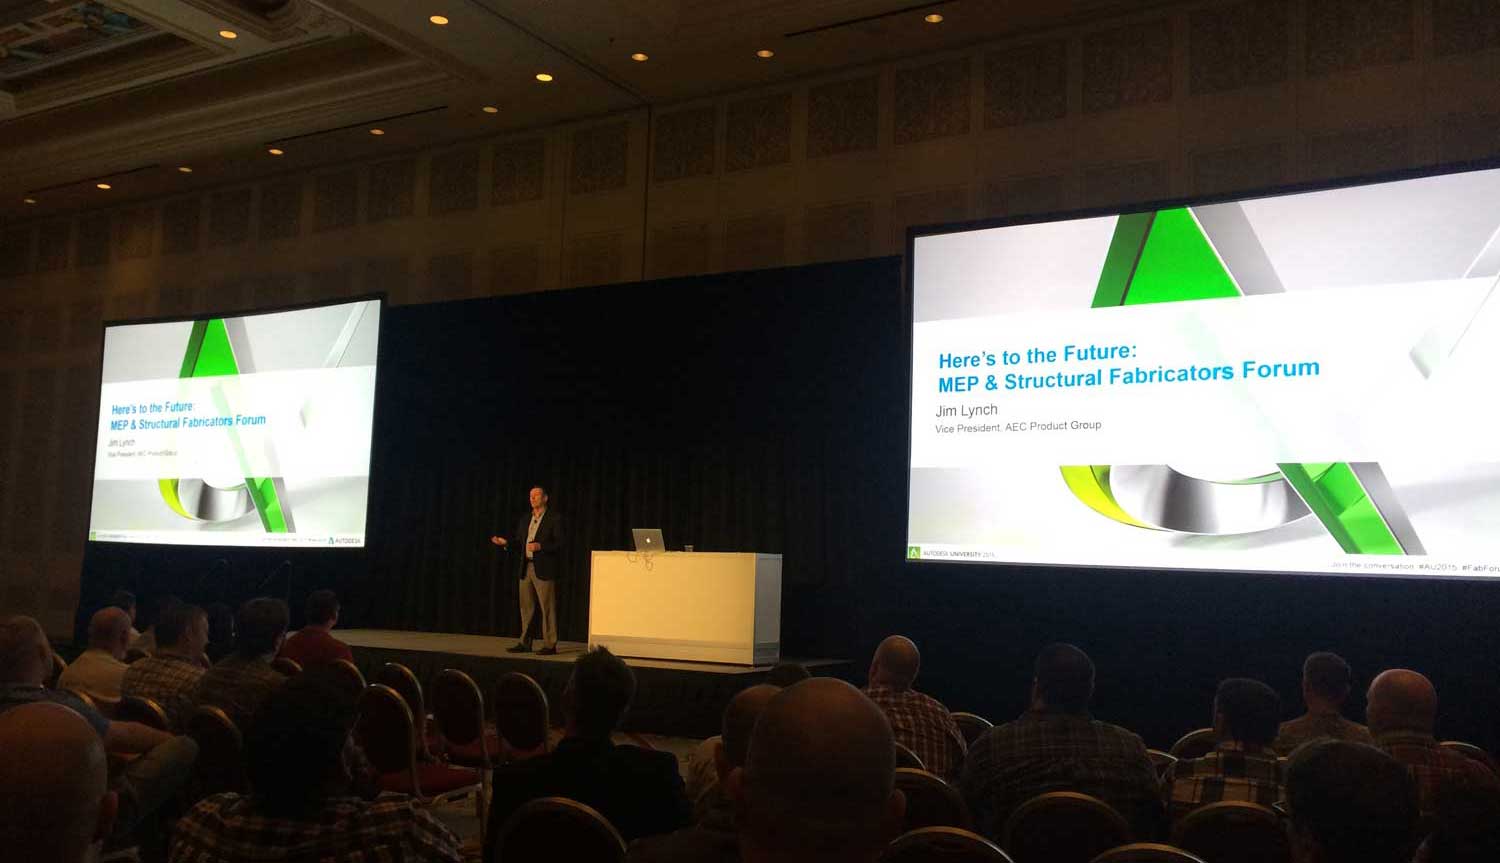
  • Hear Autodesk executives Nicolas Mangon and Jim Lynch present our vision for the future of making things and connected project delivery
  • Network at the Fabricators Forum reception with our event sponsors

We look forward to seeing you next week in fabulous Las Vegas, Nevada! Viva Fabrication!

The post What not to miss at next week’s Fabricators Forum appeared first on BIM and Beam.


from my Autodesk source Bim & Beam: BIM and Beam at http://blogs.autodesk.com/bim-and-beam/2016/11/08/what-not-to-miss-at-next-weeks-fabricators-forum/
via IFTTT

Sunday 6 November 2016

How to Deal with Rebar Detailing Visibility in Revit

rebar detailing of stairs

In order to better present, review and document all our rebar detail designs in Revit we want to have them displayed as solid objects and visible in concrete formwork in shaded views.

This requires that the rebars are visible in view as solid and unobscured by the concrete form. But this takes a lot of time and multiple clicks. What do I mean? Let’s have a look at Rebar Element View Visibility States. View Visibility States is a hard-coded property (instance parameter) of all Structural Rebars. It controls the visibility of rebars per view, and looks like this:

rebar-element-view-visibility-states

When you add a new rebar, by default its settings are:

  • View unobscured (unchecked) – This property provides us with the opportunity to control if a bar is shown through formwork or not.
  • View as solid – (unchecked)

To apply a new setting to our existing rebars  we need to regularly select all Structural Rebars in the entire project and check the View as solid and View unobscured checkboxes for all 3D views.

When we change these settings—and if we rather want the rebars to show as lines—we can simply change to Medium Detail Level.

These are kind of annoying properties, that take a long time since changes you make here have to be made again for new rebars or even copied rebars.

In this post I would like to talk a little bit about ways to improve this repetitive task, and streamline your workflow in Revit.

IMPROVING CONTROL OF REBAR DETAILING VISABILITY

SOFiSTiK Reinforcement Detailing gives us a pretty handy and productive tool to quickly control rebar visibility states. The Visibility tool changes the view visibility states to show rebars unobscured and/or as solid in 3D views. You can do it without a need to select any rebar.

sofistik-visibility

If you don’t own SOFiSTiK Reinforcement Detailing there is another way to change rebar visibility settings quickly. This time the BIM4Struc.Rebar Dynamo package comes in handy.
Packages are like add-ins for Dynamo.  Packages are created by users like you and shared locally with colleagues or with the world via the Dynamo Package Manager.  Packages may contain a single node or a full library of nodes that you can use in your own Dynamo definitions. The best place to find packages is the Dynamo Package Manager, available from within Dynamo in the Packages Menu.

Choose “Search for a Package…” to browse through available packages with descriptions and access to older versions.

search-for-a-package

Choose the option to install the BIM4Struc.Rebar package, and the files will be downloaded and placed in the appropriate place on your hard drive so that Dynamo can access the new functionality.

bim4struc-rebar-1-2-3

The BIM4Struc.Rebar package offers nodes that increase your productivity for Rebar modelling in Revit.

The nodes don’t only allow you to get data from existing rebar such as sketch lines, geometrical properties … but they also give access to automation of Rebar tasks (from the API) such as representation settings of rebar, rebar layout rules setting.

BIM4Struc

Combining these nodes with the rebar creation nodes (from the Dynamo for Rebar package) make it possible to create almost any complex rebar model.

complex-rebar-model

Dynamo (visual programming platform) is fully integrated with Revit 2017 and no longer requires an additional download. It provides you with powerful scripting capability without any additional installation.

Now in a few steps I will show you how to create a simple Dynamo script with the BIM4Struc.Rebar package and how to utilize it on a daily basis in your Revit projects without a need of running Dynamo for Revit.

In this example we will create a Dynamo script that sets up rebar visualization settings (view as a solid) for all rebars in the active view.

1) Add the SetSolidInView node. This node sets rebar elements to be shown solidly in a 3D view. It has 3 input parameters:

  • rebarElements – list of rebars to set visibility settings
  • views – list of views
  • solid – a Boolean value to have rebars solid or wired.

rebar-setsolidinview

2) Now we need to provide a list of rebars. To expose our rebars into Dynamo, we need to add the node All Elements of Category to our graph. This node takes as input Revit Category node’s output.

step02

3) It’s time to define a view. In our example we always update the active view when the script runs. Add the ActiveView node to the active view of the document. Don’t forget to connect its input with the Document.Current node.

step03

4) The third input parameter is optional. Its default value is true.

step04

5) Save the script as the Set Rebar Solid in View.dyn

Now modify the script and create three additional scripts and save them respectively. Set Rebar Wired in View.dyn

step05-1

Set Rebar Obscured in View.dyn

step05-2

Set Rebar Unobscured in View.dyn

step05-3

Revit 2017.1 introduces Dynamo Player. (See what’s new in Revit 2017.1 for Structural Engineers)  Dynamo Player makes powerful scripts available to all users without the need to actually write the script. The scripts will run on the current Revit project file. Thanks to this Dynamo scripts are now easier to share, deploy and modify using an intuitive interface directly within Revit. You can find it on the Manage tab in Revit.

dynamo-player

6) Run Dynamo Player. When opened, the Dynamo Player displays a list of Dynamo scripts in a specified directory. Beneath each script name, displays the status of the script.

7) On the Dynamo Player dialog, click folder . In the Browse to Folder dialog, navigate to a directory containing your Dynamo scripts you saved in the previous steps.

Dynamo Player

8) Now you can play your scripts in the Dynamo Player and see how quickly visibility of your rebar designs changes. No rebar selection and only one click to apply new setting.

concrete-detailing

If you are interested in Dynamo for Rebar solutions and if you would like to learn more about computational design for reinforcement detailing you should register for the ES15357 – Dynam(o)ite Your Rebar Design class at AU 2016.

autodesk-university

This session will familiarize you with the Autodesk technology for complex reinforcement detailing with Revit software and Dynamo software. In this powerful 90 minutes, you will see a few examples, from the automation of basic rebar design over radial fan-shaped rebars to complex irregular elements. After this session, you will be inspired by the power and dynamics of parametric and computational design for complex problems.

Learn more about Dynamo for Rebar with Revit:

The post How to Deal with Rebar Detailing Visibility in Revit appeared first on BIM and Beam.


from my Autodesk source Bim & Beam: BIM and Beam at http://blogs.autodesk.com/bim-and-beam/2016/11/06/rebar-detailing-visibility-in-revit/
via IFTTT