This is my last post summarizing some of the Advance Steel tips & tricks that I described in my class during the Autodesk University MEP & Structural Fabricators Forum 2016. I hope these posts have helped you better understand the efficient practices for workflows between Advance Steel and other Autodesk software. If you’re just stumbling upon this series, check out part I and part II here:
- Tips and Tricks for using Autodesk Advance Steel from AU2016 (Part I)
- Tips and Tricks for using Autodesk Advance Steel from AU2016 (Part II)
1. Synchronize steel members & connections between Revit and Advance Steel
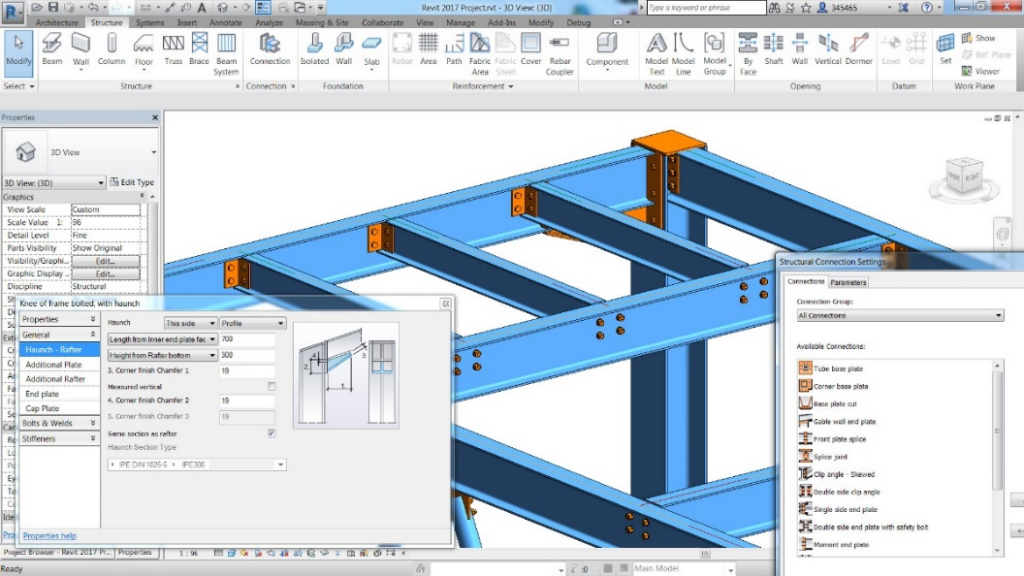
Since the 2017 release, users can insert fully parametric steel connections on structural sections in the Revit environment with the Steel Connections in Revit extension (which can be downloaded & installed from your Autodesk Account).
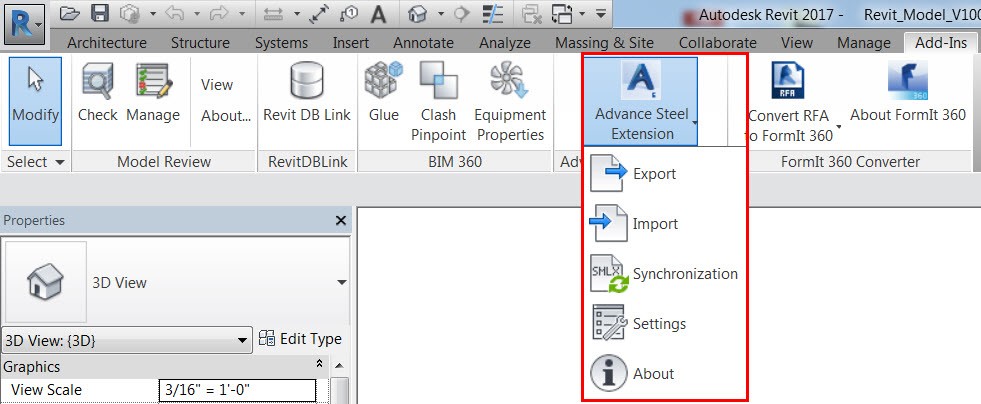
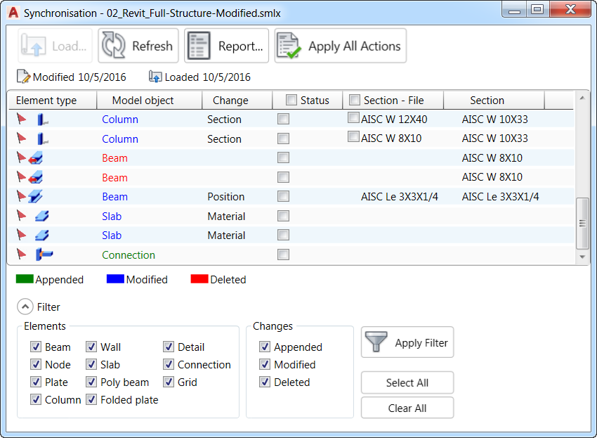
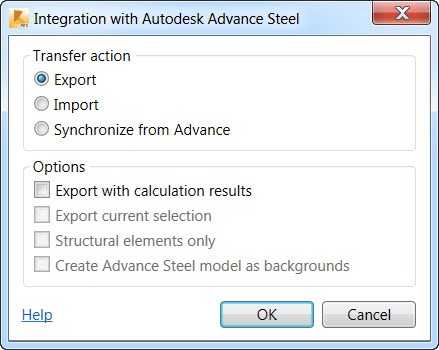
But did you know that you can also synchronize not just the steel members but also steel connections between Revit and Advance Steel by using the Advance Steel 2017 Extension for Revit which can be downloaded & installed from the Autodesk App Store?
2. Linking Advance Steel with Robot Structural Analysis software
With the Robot – Advance link which can be downloaded & installed from the Autodesk App Store, users can start creating the structural model in Advance Steel and send it to Robot Structural Analysis Professional for optimization of the structural members.
Engineers can validate and optimize any kind of structures with advanced BIM-integrated analysis and design tools to understand the behavior of the structure type and verify code compliance.
When the structural model changes, team members can easily synchronize the modifications at any time with a full control on the modifications thanks to the synchronization dialog box.
Once the model has been optimized in Robot Structural Analysis software, it can be completed in Advance Steel by inserting components such as steel connections & miscellaneous steel, and high-quality shop drawings can be generated automatically from the 3D model.
The link between Robot and Advance Steel software helps make the workflow smoother by coordinating the design models with detailed models. The bidirectional interoperability between the two products helps reduce the time needed to create and update the 3D model and helps to avoid potential errors resulting from manual coordination.
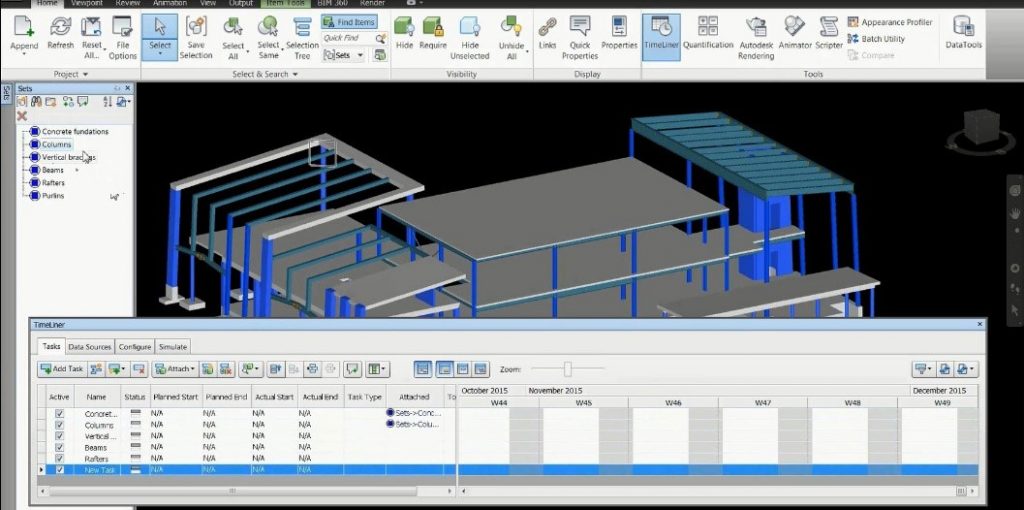
3. Create a 4D simulation of your Advance Steel model in Navisworks
You can export an Advance Steel model to Navisworks by using the “Export to Navisworks” icon available in the “Export & Import” ribbon.
The file includes object properties that identify the section sizes, etc…
Once scheduling tasks and rules are assigned to objects in your design, Navisworks will allow you to perform a 4D simulation of your project, complete with a Gantt chart, which provides a visual representation of your schedule.
4. Access your Advance Steel model from any device with A360 Viewer
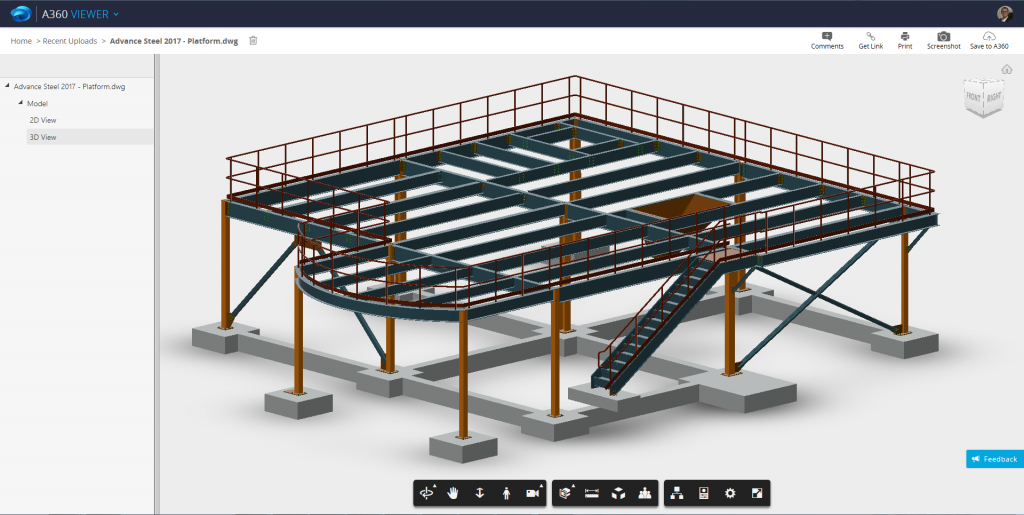
You can use A360 Viewer to instantly view and share 2D or 3D design files – even large and complex models – right in your browser. You can then view them on any device, whether you are in the office or in the field.
The best part about the A360 Viewer is you don’t have to download or install any software, or create a login and password to use it. Simply visit https://360.autodesk.com/viewer in your web browser (Chrome, Firefox or another browser that supports WebGL 3D graphics) and upload your Advance Steel DWG file for free!
When you upload the DWG file of a native Advance Steel model, here is the result:
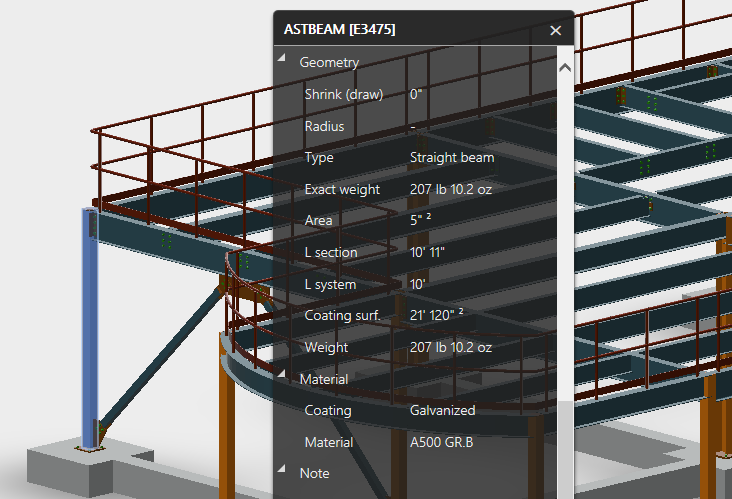
You can get information from the 3D model by using the Properties tool:
A360 Viewer offers some reviewing tools such as markup, comment on point, comment on object and snapshot.
You can get a link, copy and paste this link into an email message and share it with anyone you like.
5. Collaborate with BIM 360 Team
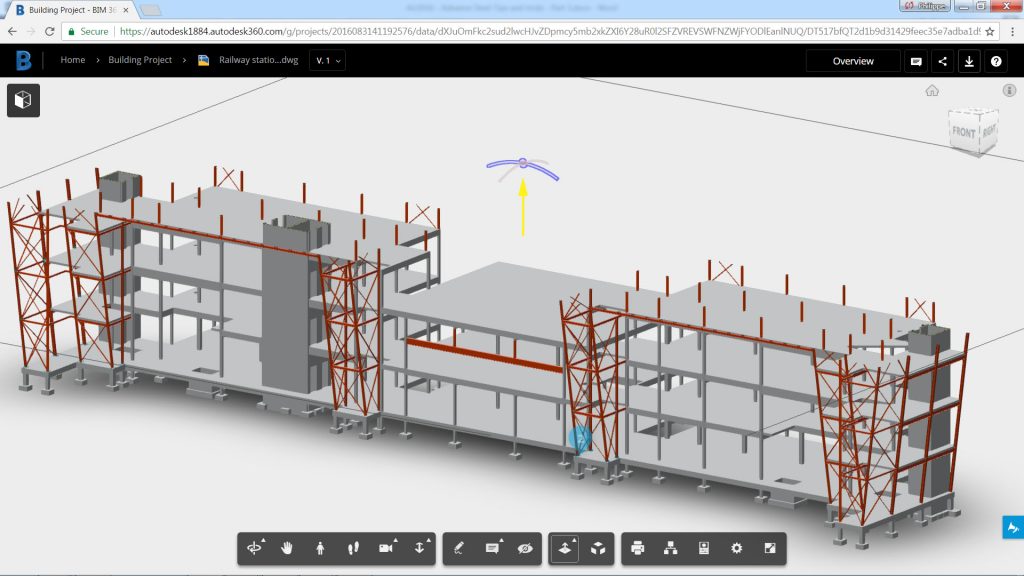
BIM 360 Team is much more than a file viewer. It is a cloud-based collaboration platform for communication, file sharing and design reviews for design teams and their project stakeholders.
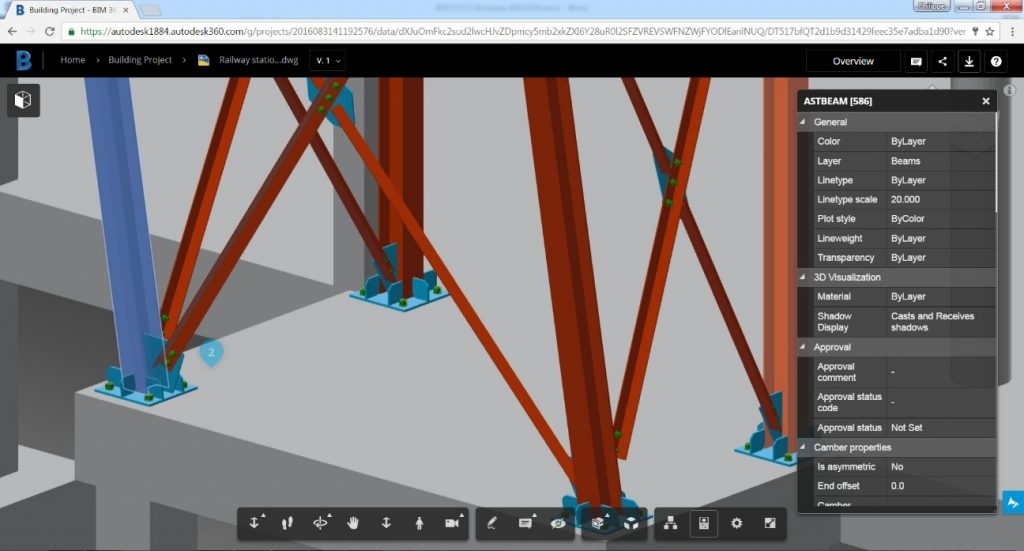
You can upload the native DWG file(s) of your Advance Steel model and/or drawings to BIM 360 Team, and have access to object properties such as section size, length, weight.
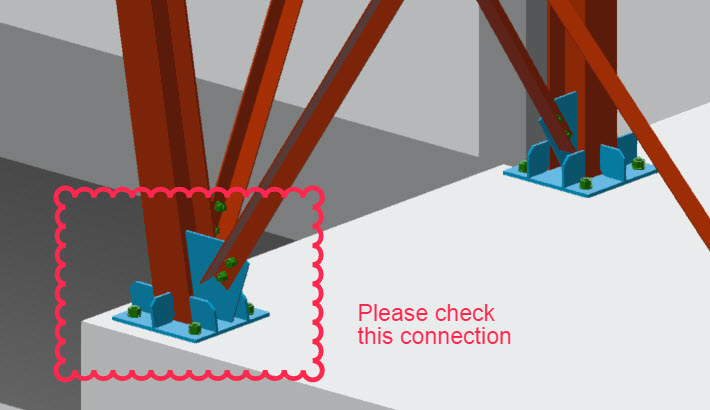
BIM 360 Team also enables markup, comment and interact with over 100 2D and 3D file types.
One of my favorite tools is the sectioning tool where you can drag the desired manipulators until the model is sectioned the way you want it.
from my Autodesk source Bim & Beam: BIM and Beam at http://blogs.autodesk.com/bim-and-beam/2017/03/14/tips-and-tricks-for-using-autodesk-advance-steel-from-au2016-part-iii/
via IFTTT





Hey Nice blog keepit! up, your blog is very helpful for every person to learn digital marketing & thanks for sharing this blog
ReplyDeleteOnline detailing services