In my last post I summarized some of the Advance Steel tips for modeling that I covered during my class at Autodesk University last fall. This post picks up where that one left off and describes the software features Advance Steel has for helping you create and manage documentation more effectively.
Here we go!
1. Getting access to your customized templates
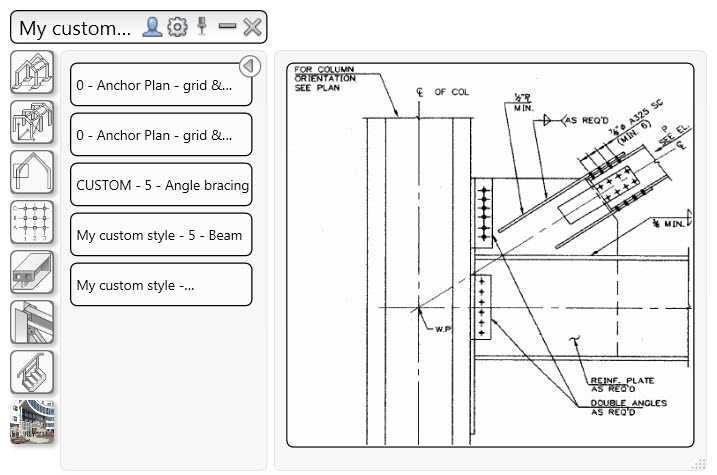
You can easily switch between templates delivered out of the box when installing Advance Steel (from the Advance branch) and templates from the User branch (which contains your customized templates) with the “User” icon located at the top of the palette. The same behavior applies for the drawing styles, drawing processes and BOM templates tool palettes.
2. Increasing column size on anchor bolt plan
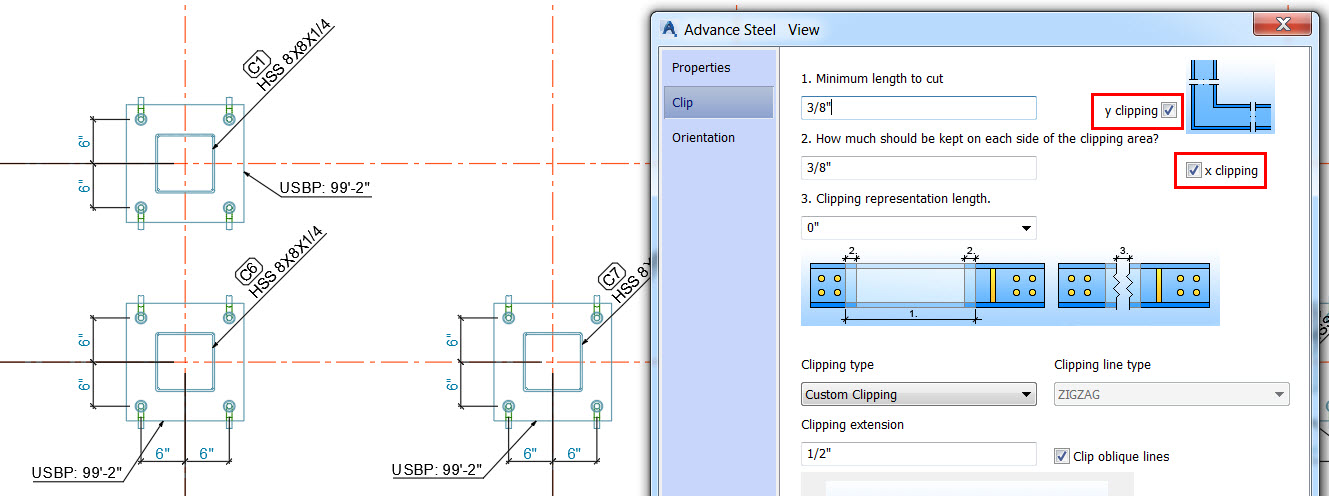
You can get details bigger on your anchor bolt plan by modifying the view scale and changing the clipping values along X and Y. This makes anchor plan drawings easier to read, and ensures steel details are more practical with enlarged information for the columns shape and orientation, but also the base plates layout.
3. Finding information on used prototypes
Drawing prototypes are blank drawing sheets that are used to create the shop drawings and general arrangement drawings. An easy way to find which prototype has been used for a drawing is to look on the Document Manager, the information is available in the “Prototype” column.
4. Customizing shop drawing file name
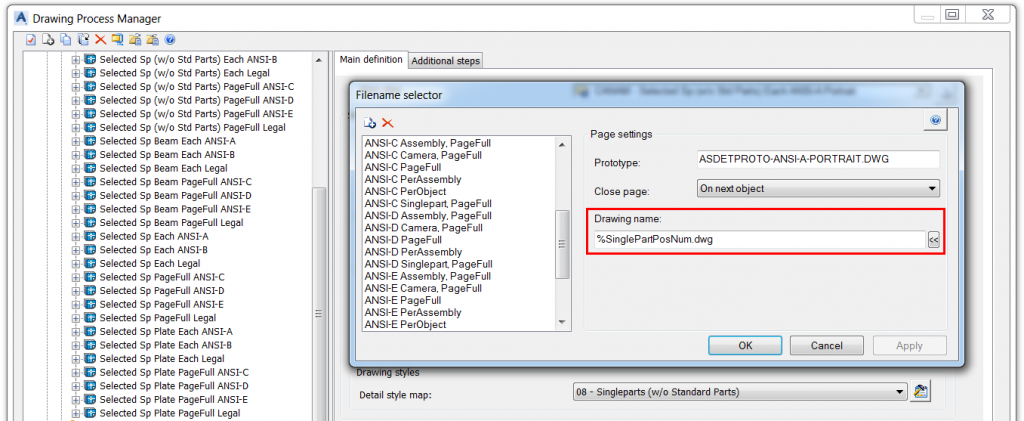
When creating the shop drawings, it is a good practice to use a drawing process which will step through all of the selected objects, selects a suitable drawing style, creates the shop drawing of the object, and moves on to the next object. In this way many drawings of many objects can be created quickly and easily. The drawing process manager offers the possibility to customize the shop drawing name according to your needs.
5. Creating a bill-of-material based on a query
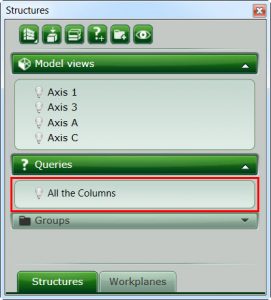
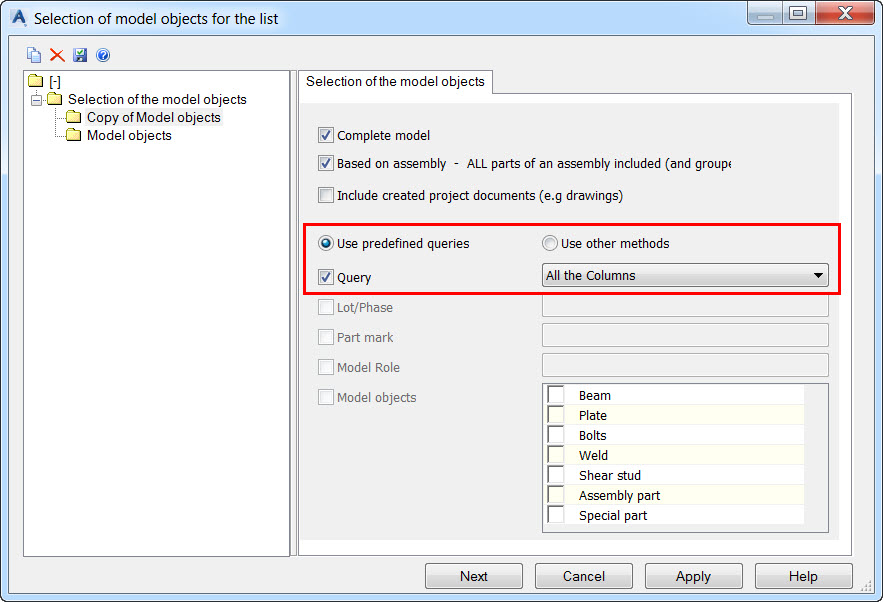
You can create a query (e.g. search for Advance Steel objects which model role is “Column”) and by saving it, the query will become available in the Project Explorer so that you can run it at any time. What is great is that you can use this query to generate a BOM only for elements selected by this query.
If you’re interested in watching the full class on-demand, visit Autodesk University online here:
For more tips on using Advance Steel, check out these previous blog posts:
- Tips and Tricks for using Autodesk Advance Steel from AU2016 (Part I)
- Advance Steel: 9 (awesome) things you don’t know about how to use it
- Structural steel connections in Revit 2017 and Advance Steel 2017
The post Tips and Tricks for using Autodesk Advance Steel from AU2016 (Part II) appeared first on BIM and Beam.
from my Autodesk source Bim & Beam: BIM and Beam at http://blogs.autodesk.com/bim-and-beam/2017/01/20/advance-steel-tips-from-au2016-part-ii/
via IFTTT


No comments:
Post a Comment